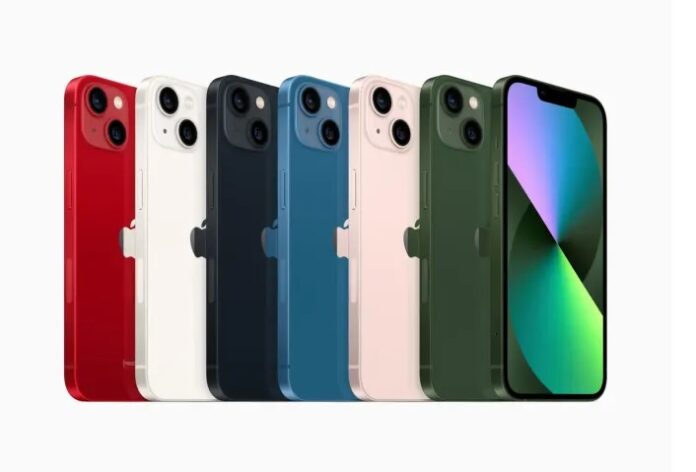
It is common that when changing devices it happens that you need to share all your information to the new iPhone that you just bought. Especially this year that Apple has decided to release and with the next announcement about the new generation, it is necessary to be aware of how to transfer data from one iPhone to another. Because of this below you will see three interesting, practical and simple ways to carry out this process.
iPhone allows us to transfer practically everything, from photos, contacts, to WhatsApp chats. Whether in old versions of iPhone to the most current ones such as iPhone 11 to 13 in any version (Pro, Max, Plus).
Quick Start Transfer
This method is quite useful for transferring to a new iOS device, be it iPhone, iPad or iPod. All you need is to have both devices at hand, so make sure you can count on both for a good period of time.
- First of all, you will have to have both devices close to each other.
- On the sending device or from which you will send the data, you will have the option to use Apple ID to enter the data on the new device or receiver. It should be noted that you must be totally sure which will be the Apple ID to use then touch Continue (If the option does not appear, check that the Bluetooth function is active).
- After this, the receiving device will react with an animation. Position the sending device over the receiving device so that the animation is in the center of the viewer.
- Once the devices are centered, the receiver will notify with the message Ends. In case you are unable to use the device’s camera, tap on Manually authenticate.
- From here on, just proceed with the required steps until you are prompted to enter the code from the sending device into the receiving device.
- Set up the receiver’s Face ID or Touch ID.
- Finally, Transfer device data will appear, where you will click on Continue to start the process.
- It is important that both devices are close to each other and with the necessary charge for the time the process takes. These times are variable depending on many factors, so be patient.
Transfer via iCloud
This form is also fully accessible to be able to share absolutely all the personal data or of any type, that you want towards a new device. via backup to iCloud account.
- First of all you have to have the new or receiving device, where your iCloud copy will be integrated with your data. When you turn it on for the first time, the welcome screen should appear, although in case it is a receiver already with data you will have to factory reset for this tutorial.
- During Wi-Fi screen you will have to connect to one.
- Continue until the next one comes out screen about Apps and Data. In it click on Restore with iCloud backup.
- You’ll need to sign in with the same account you want to transfer using the same Apple ID.
- Upon startup, you are prompted to choose the correct backup. To help, the date and size of the file will be displayed. If you require an update, click on the following link for more information about it.
- In case you have content on multiple iTunes or App Store accounts, you will also need to sign in using the different Apple IDs used. If you do not remember any information click on I don’t have ID or I have forgotten it.
- Do not cut the connection until the process is finished. Once it has finished you will only have to follow the configuration steps.
- Remember to stay connected if necessary and with enough battery for this process. In addition, through this method all personal content, see photos, music or applications that the iCloud account has saved they will automatically be on the receiving phone.
Transfer via iTunes or Finder
The method is just as practical as the previous ones, it is simply another totally accessible way that the user can choose for the transfer. All this, from a copy of iTunes or Finder that you decide to use for the data transfer process.
- The first thing is to be with the new or receiving device, specifically on the welcome screen. Remember that if the device is not completely new and contains old data, you must erase it to factory settings.
- You will have to follow the steps during the Apps and Data screen where you will then choose the option to Restore from Mac or PC.
- For this option, you will have to have the device linked to the computer where the backup copy of the sending device is located, that is, where you will send the data from.
- You will have to enter the window iTunes or it can also be Finder on your computer and choose the device, where you will possibly require the trust permission.
- Once there, click on the Restore Backup option. Followed by choosing which backup will be the one you want to restore. You can help yourself with the date and size of the file they have to better know which one to select. In case you are prompted to update iOS or iPadOS, click on the following link for information about it.
- It should be noted that it is also possible to select a backup with a key, you will only need to have the password and enter it when requested so that it can be restored correctly.
Finally, you will only have to wait for the data transfer process to finish. You’ll just need to follow the correct steps in Settings on your iPadOS or iOS. The recommendation is that you keep the device connected to the network, as well as be aware of the battery.


