
In this video walkthrough watch, as I show you how I created this large composite in Photoshop with my son. Every Halloween I and my son create an image together, some of which are my most popular creations. This year, even with Covid, we still wanted to keep this tradition.
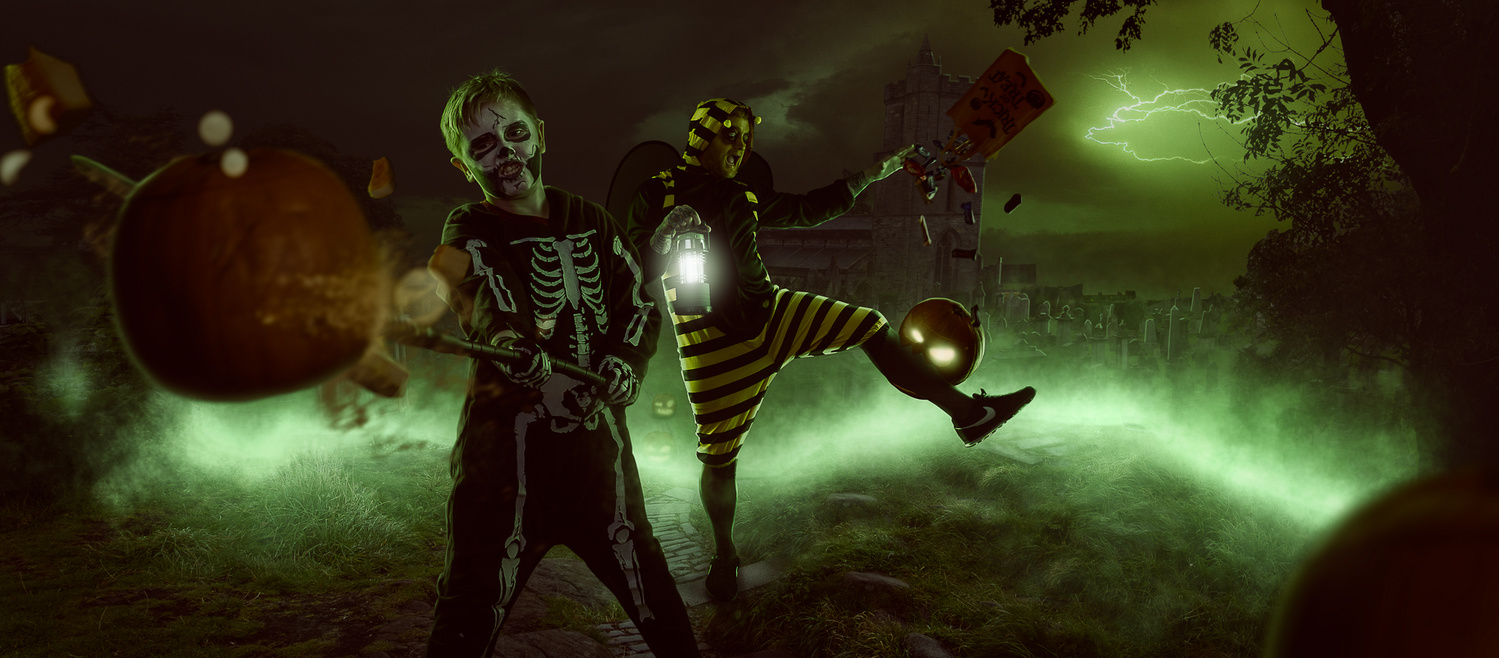
In the video, you will not only see some of the behind the scenes from this shoot with my son, but also a video walkthrough of the editing process. The lighting in the studio was a three-light setup, with two rim lights, gelled, and a large octa for fill light. When creating a large image like this, planning and preparation is key, so always be sure to write everything down that you need and to make sketches, alongside mood boards. In the editing section, I will take you through not only my steps but the thought process. You will see how I color match, dodge and burn, and paint in rim lights. Creating a large composite can be difficult when you first start but it a lot of foundational techniques built upon each other.
This video walkthrough is great for people of all levels who want to see how a composite like this is pieced together. When I was learning I found it of great benefit to watch other artists’ processes and workflow. Taking what I needed and applying it to my own. And that is what you should be doing all the time, learning and then putting that into action. You need to do both together.


")


