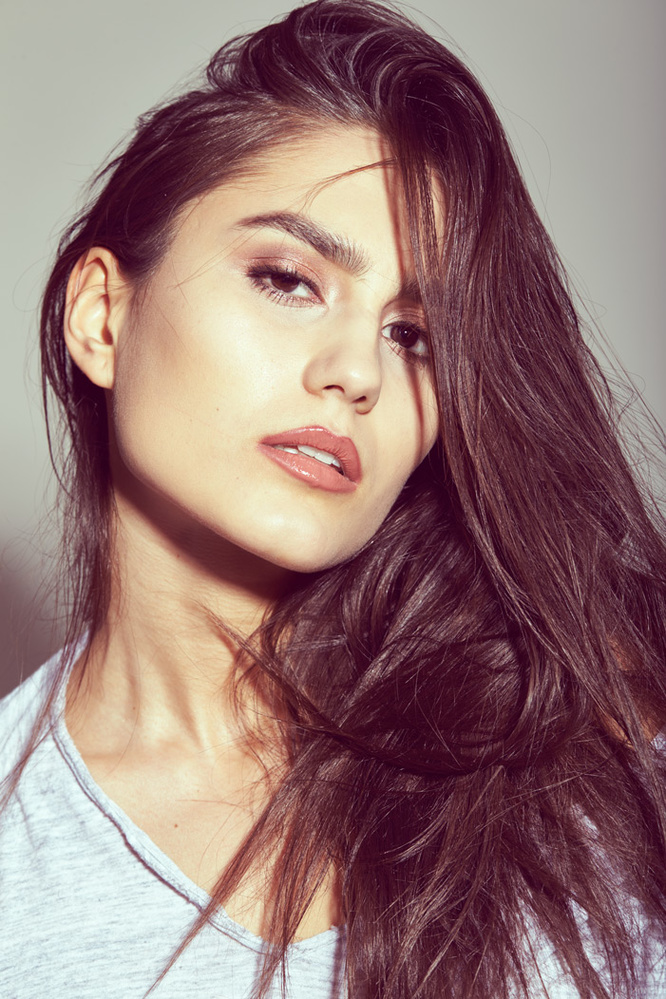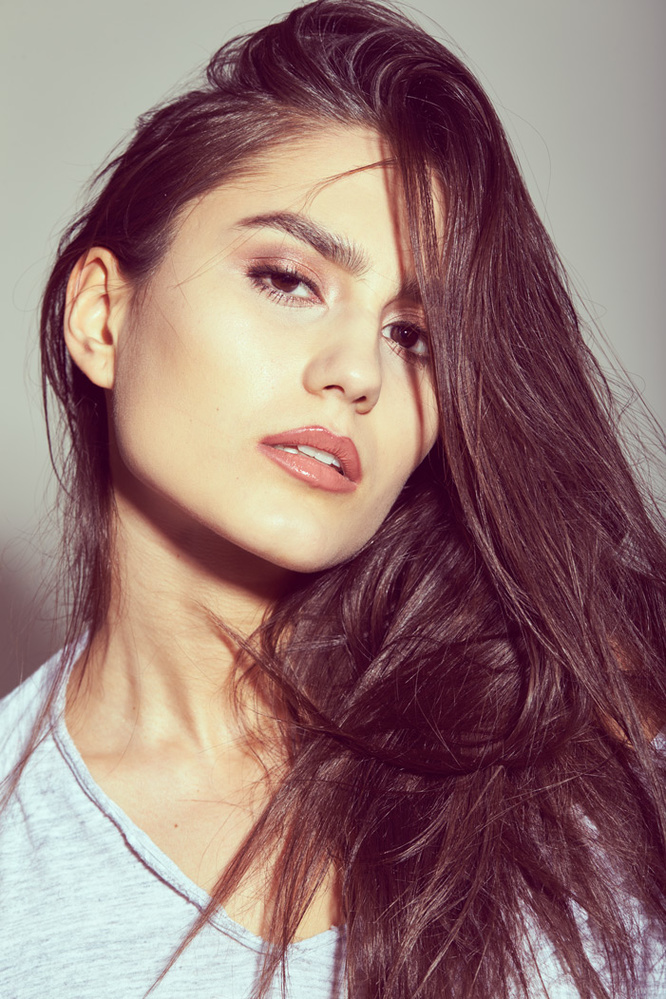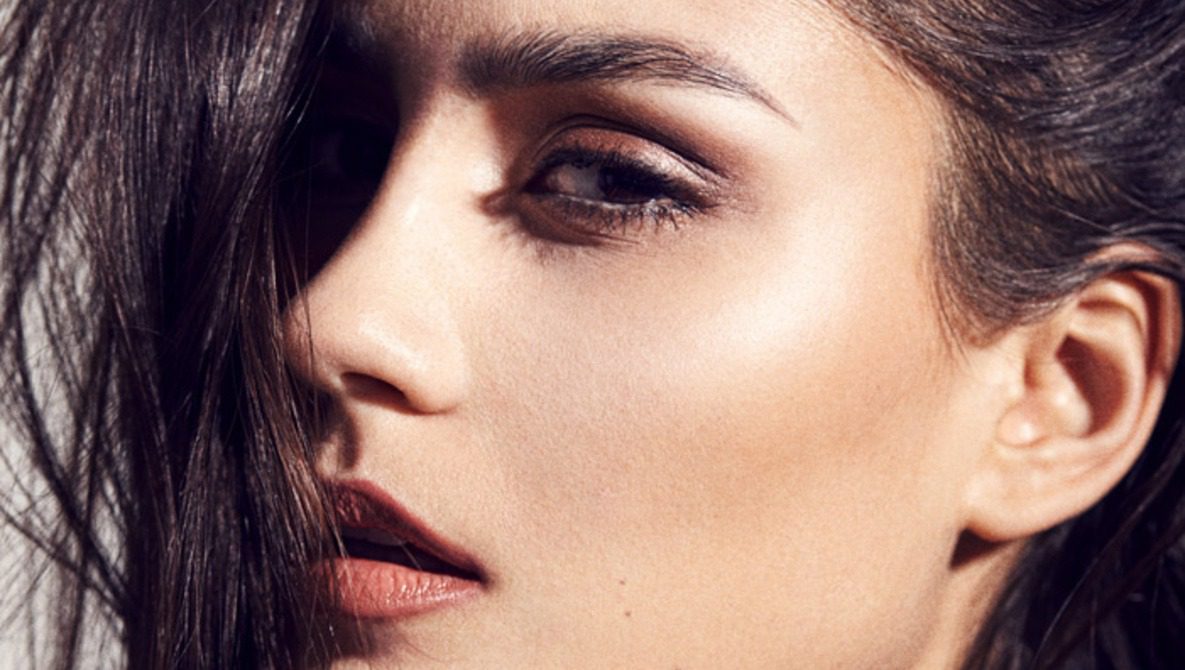
Many makeup products can make the skin glow and can look great when associated with a good contouring. However, shiny products when used under strobe light can be difficult to dose out correctly. In a previous article I showed you a technique to diminish that glowing effect when too much highlighter or too few setting powder is applied. Let’s see how we can amplify the glow of the skin when more products could have been used to give a fresh look to your model’s face.
Because a glow is mostly seen through highlights and contrast, in order to increase the shiny effect of an illuminator (makeup product) we simply need to select the brightest parts of our image and make them even brighter. That way we increase our highlights and the contrast, making the glow seem stronger than it is. Like many other techniques in Photoshop, there many different ways of doing it. The method I am going to show you is quick yet very effective and has the advantage of being quite easy to refine to get a precise result.
Move the slider from left to right to see the before/after result of the technique explained below.
Increasing Highlights Using Curves
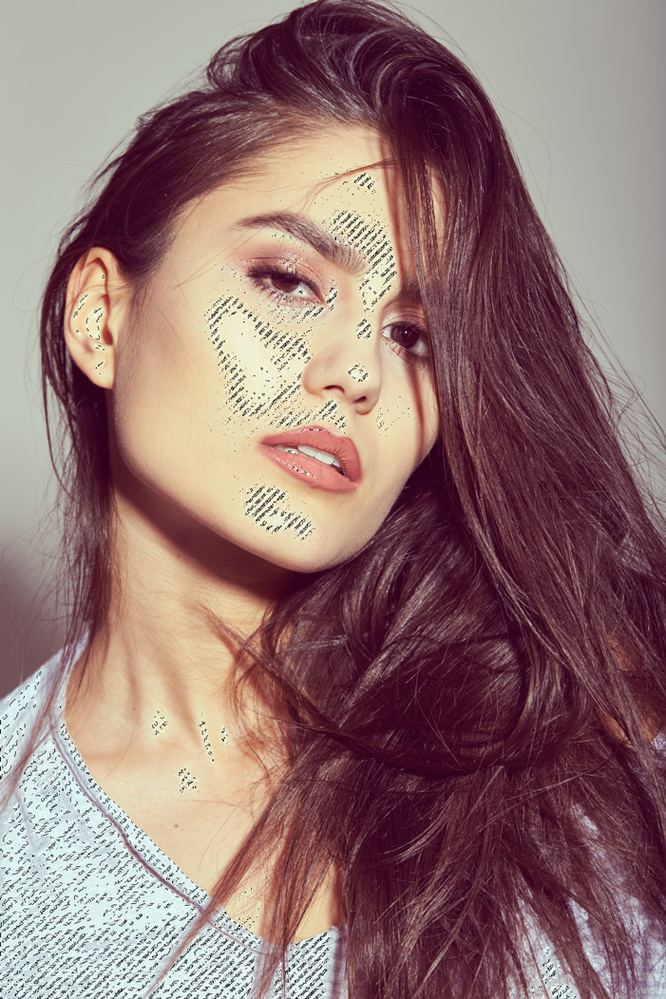
We first want to select the highlights of our image. To do so, we are going to open up our channels panel (Window > Channels) and cmd/ctrl+click on the RGB thumbnail. That will select the right half of our histogram on our image.
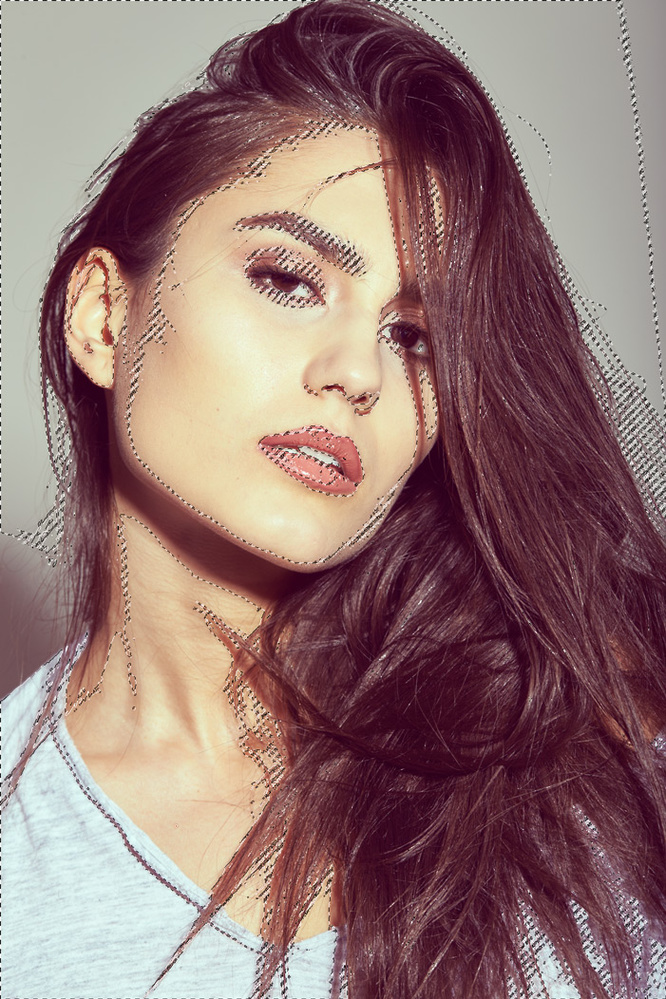
If too much of the image is selected (for example this might be the case on a high-key image), simply cmd/ctrl+alt+shift+click on the thumbnail as many times as you feel like it is needed. Each time you do that the selection will be reduced.
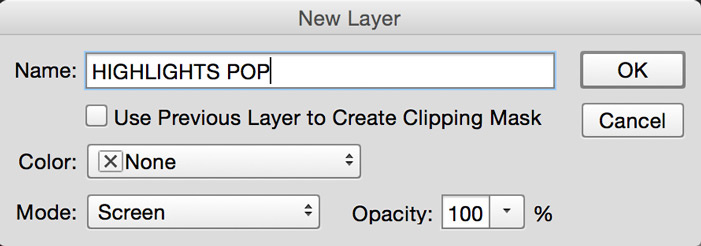
Once our selection is ready we can go back to our layers panel and create a curve adjustment layer (Layer > New Adjustment Layer > Curves). When creating the curve, change the blend of the layer to screen.
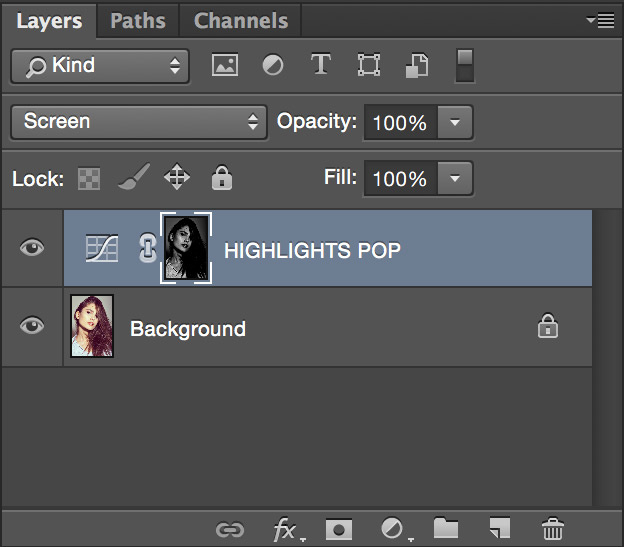
Because when we created the curve layer adjustment the selection was active, Photoshop created a mask that will make the adjustment only visible on the brightest part of the image that we just selected.
Adjusting Your Highlights’ Strength And Color
This is the basic “raw” technique. But now we can go further and tweak it a bit to make it look even better. Because we use a curve, it is very easy to make the adjustment even more by either shifting the colors, the luminosity, or even both.
For example, if you like to have your highlights slightly warm you could push the red and/or yellow curves slightly up as shown below. Note that as our layer blend mode is in screen, the color adjustment will be more subtle than usual.
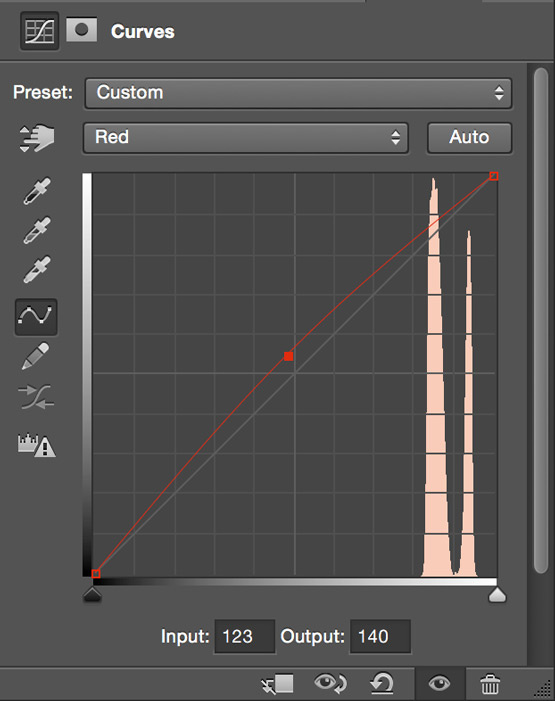
If your highlights are not strong enough yet, no need to duplicate the layer and stack thousands of layers in your PSD. Instead, you can just shift the RGB curve upwards to make the adjustment even stronger.
Refining Your Mask
Then if you would like your adjustment to be more subtly or locally applied, you can do so by refining your mask very quickly.
One way is to click on the mask of the layer we created and press cmd/ctrl+L to open up the levels window. You can then adjust the levels of the mask in order to have the adjustment applied to more or less zones of your picture. For example, if you would like the effect to be only visible on the very brightest parts of the image, simply drag the the input black level (left cursor) to the right. Or if you would like the effect to be spread over more areas of the image, drag the highlight cursor to the left.
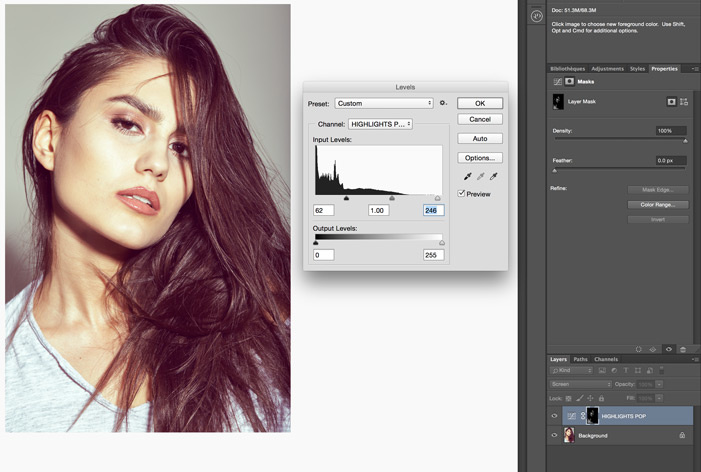
Some of you might not be fans of using the levels directly on the mask to achieve this result as it will be kind of destructive. What you could use instead is the “blend if” found in the Layer Style of the layer. To open the Layer Style window, double click on your layer, or alternatively go to Layer > Layer Style > Blending Options. We can then do pretty much same thing as with the levels, but using the “blend if” function to make the adjustment even more local. To do so, simply drag the black cursor found on the underlaying layer slider to the right. You can now drag the black point towards the right in order to make the adjustment appear only on the brightest part of your image, or the white point to the left to remove the adjustment from the very brightest part of your image.
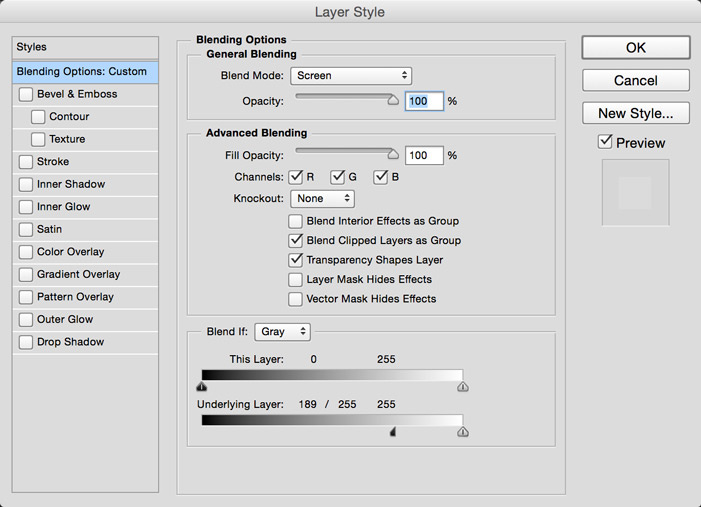
Note that you can alt+click on the cursors to separate the cursor into two separate ones. That will allow you to define a zone of transition to make the adjustment look more realistic. I personally like to drag one part of my black cursor all the way to the right to remove the adjustment from the darkest point of my image (which is actually why you can only see half of the cursor on the previous screenshot) and then drag the other half until I find it looks good for the image I am working on.
You also have the possibility of using the history brush to make the adjustment visible only where you want it to be. It might actually be a great idea to refine the mask using the history brush because the adjustment we created will apply to the whole image, including the background, the eyes, or the hair. On some pictures it might not be necessary to apply the adjustment to these areas. To make the adjustment more local, start by creating a new snapshot in your history panel (Window > History, then click camera icon in the panel). Once this is done, click on the curve layer adjustment’s mask and fill it with black (Press “d” to set your background color to black, then shift+backspace to fill the mask).
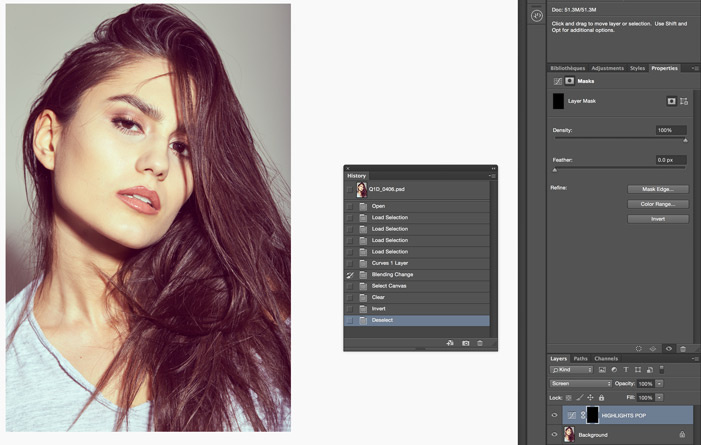
Now you can simply use your history brush to paint the mask back where you want the adjustment to be applied.
If you absolutely cannot stand the history brush, you could alternatively put your adjustment layer in a group, create a mask filled with black on the group, and paint with white where you want your adjustment to be visible.
Note that like I said earlier in this article, the technique shown here is not the only way to do it. For example you can choose to use the method Gry Garness showcased in a video we wrote about last year. It all comes down to preferences. I am a big fan of curves and do most of my retouching using them (coloring, dodging and burning, local color correction, etc.) as I feel it gives a more natural result than some other adjustment layers Photoshop has to offer. Also, with a little bit of creativity, the method I showed you today can be used for much more than just making the highlights of an image pop. You can use it to make color adjustments only in the highlights or shadows, to bring your highlights or shadows back or to strengthen the contouring of someone’s face. Once you get a grasp of adjustment layers, blending options, and masks you will see that your retouching will improve greatly.
