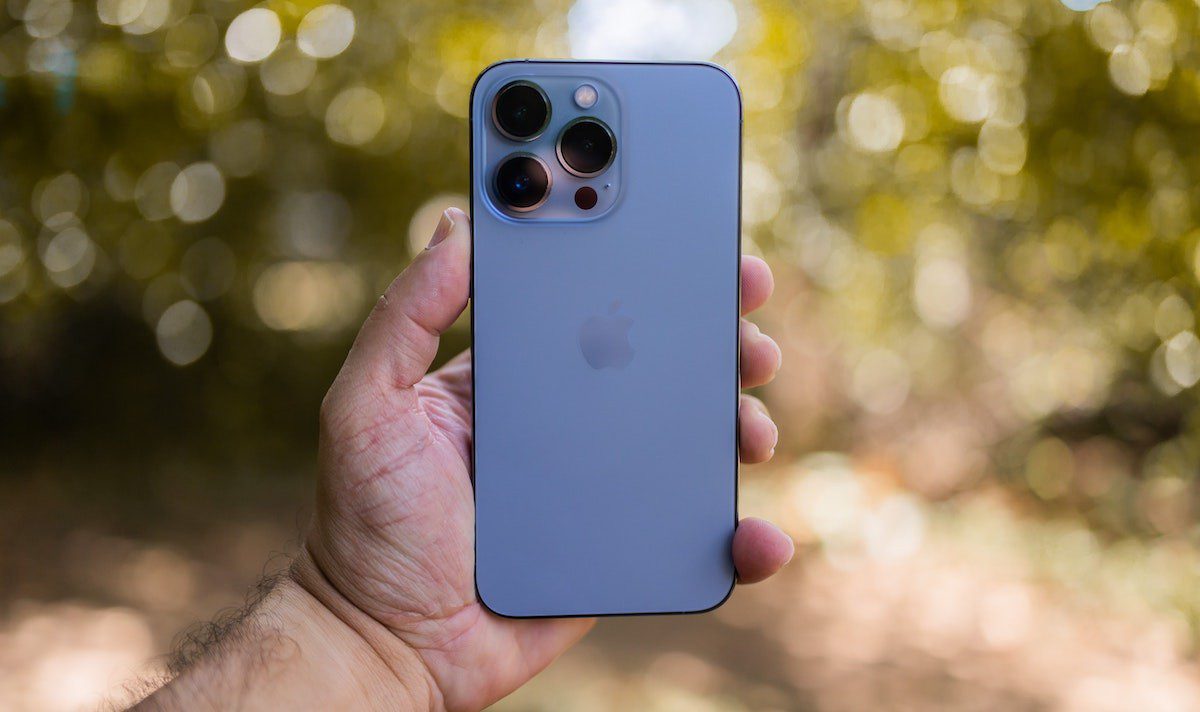
The iPhone is a wonderful device, it has transformed our lives and continues to transform for the benefit of users. A section that has improved and segmented within its own range is the camera. How did you do it? It has allocated three lenses for the professional sector, the iPhone Pro (since 11) has three lenses and has improved its features to include a LiDAR scanner and make the camera module bigger and bigger. Perhaps if you do not know or have not tried, there is a macro mode available only for the iPhone 13 Pro and Pro Max. Today we will teach you how to take photos in macro mode, a somewhat hidden feature in the iPhone 13 Pro.
Taking photos on the iPhone 13 Pro with macro mode is easy![]()
Macro mode photos bring out the best in every object. Have you ever used a microscope in a laboratory? Using this mode makes us remember what things are made of. Macro mode on the iPhone 13 Pro isn’t available as an in-app camera mode, as is video or portrait mode. To activate it you have to do the following steps.
- Open the Camera app
- Put it in Photo mode
- Bring the camera closer to an object (centimeters away)
- Macro mode will automatically be activated. The indicator is an icon of a flower in a yellow circle at the bottom left of the screen.
- Shoot to capture the moment in macro mode.
This feature is automatic and can be turned off in the iPhone settings. Go to this section under Camera, then Auto Macro and choose whether you want it to be on or off. Being off, you have to touch the icon mentioned above every time you want to activate the macro mode (you will know it since the flower icon will be crossed out). It is simply a matter of taste.
Have you ever taken photos in this mode before? Tell us what experience you have had taking pictures in this way. Remember that in iOSMac we have the best current content about Apple. Compilations, tutorials and tips, analysis, opinion and much more.
For more information on camera functions We leave you the following link to Apple technical support.


